Monday, 9 June 2014

By This I Solemnly Swear

Some of you might have heard about the wonder that is the Clarisonic. If you haven't, it is my pleasure to fill you in.

The sciency stuff  about this face brush is basically that it uses a sonic frequency of more than 300 movements per second to remove impurities from your skin. In simple English, this brush exfoliates your skin better than any regular exfoliating wash does ,removing dead skin cells, reducing pores and breakout (Lord knows I need that), reducing wrinkles and leaving your skin clearer.

Knowing all this wonderfulness (I know that is not really a word but please permit me) was just at my finger tips, I was hell bent on purchasing one .... I was hell bent on it until I arrived at the website and realised that they go for between £100 to £180.

This was more than a bit of a problem as lord knows I wasn't willing and still am not willing to spend that much on a single tool. So I went on a mission to find something much cheaper and this is how I came across the Mary Kay Skinvigorate cleansing brush.

It pretty much does the same thing for less than half the price. £35 to be specific.

I have had the Skinvigorate for about 2 months now and I have to say I have had excellent results. My skin is starting to look so much better and clearer and I have much fewer spots. My hyper pigmentation seems to be getting a lot better too.

I would definitely recommend this product to anyone who is looking for an exfoliating tool that works; man or woman. In fact I solemnly swear by it.


 The product says you can use it up to twice a day every day but I find that is a bit much for me so I use mine 5 to 6 times a week.


The tool comes with two brush heads. It is recommended that you change the brush head every 3 months. Mary Kay stocks the brush heads.


The tool has two speeds, a fast one and a slower more gentle one. I personally just use the faster speed.


The brush head moves quickly in a clockwise motion.


 The brush comes with a set of AA batteries


Things to note

The Skinvigorate is waterproof so you can use it in the shower which is just excellent in my opinion.

The one downside to this product is something that is general to Mark Kay. It can be impossible to find a Mary kay consultant to purchase from. The good news is I have the hook up for you my dear dear dear readers. Send me an email at theohsobeautifulblog@gmail.com and I will make sure you can buy one ..because I love you and I'm just lovely. 

P.S
This is the first thing I have put up on my blog that is great for men too. yay

xx

Tuesday, 21 January 2014

Who is the Enemy?

First and foremost, all prayers warriors please stand down. This post is addressing a completely different kind of enemy. The enemy to which I refer reveals itself in the form of Hair straighteners,  blow-dryers, curling tongs and the like.

HEAT! Excessive direct heat is one of the biggest causes of damage to black hair. Heat breaks down the  cuticle layer of your hair which is there to protect the hair fibres and shaft. A damaged cuticle layer leaves hair dry, brittle, and riddled with split ends.

If you already have split ends, unfortunately there is not much to be done about them. The only real solution is to trim them off with a sharp pair of scissors, keep your hair moisturised and ideally avoid heat completely.

To try and avoid heat after a wash, a good tip is to let the hair air dry. This means after washing, detangle hair GENTLY with a large tooth comb, blot it dry GENTLY with a towel and leave it out to dry for as long as necessary. No heat involved.
To give hair a straight finish, wrap it round your head after moisturising and sealing and tie tightly with a head scarf overnight.

Now I bet all this is going in one ear and out the other for some of you who simply cannot imagine life without your hair straighteners and blow-dryers. If you absolutely must apply heat to your hair, here are a few tips to help protect your hair.

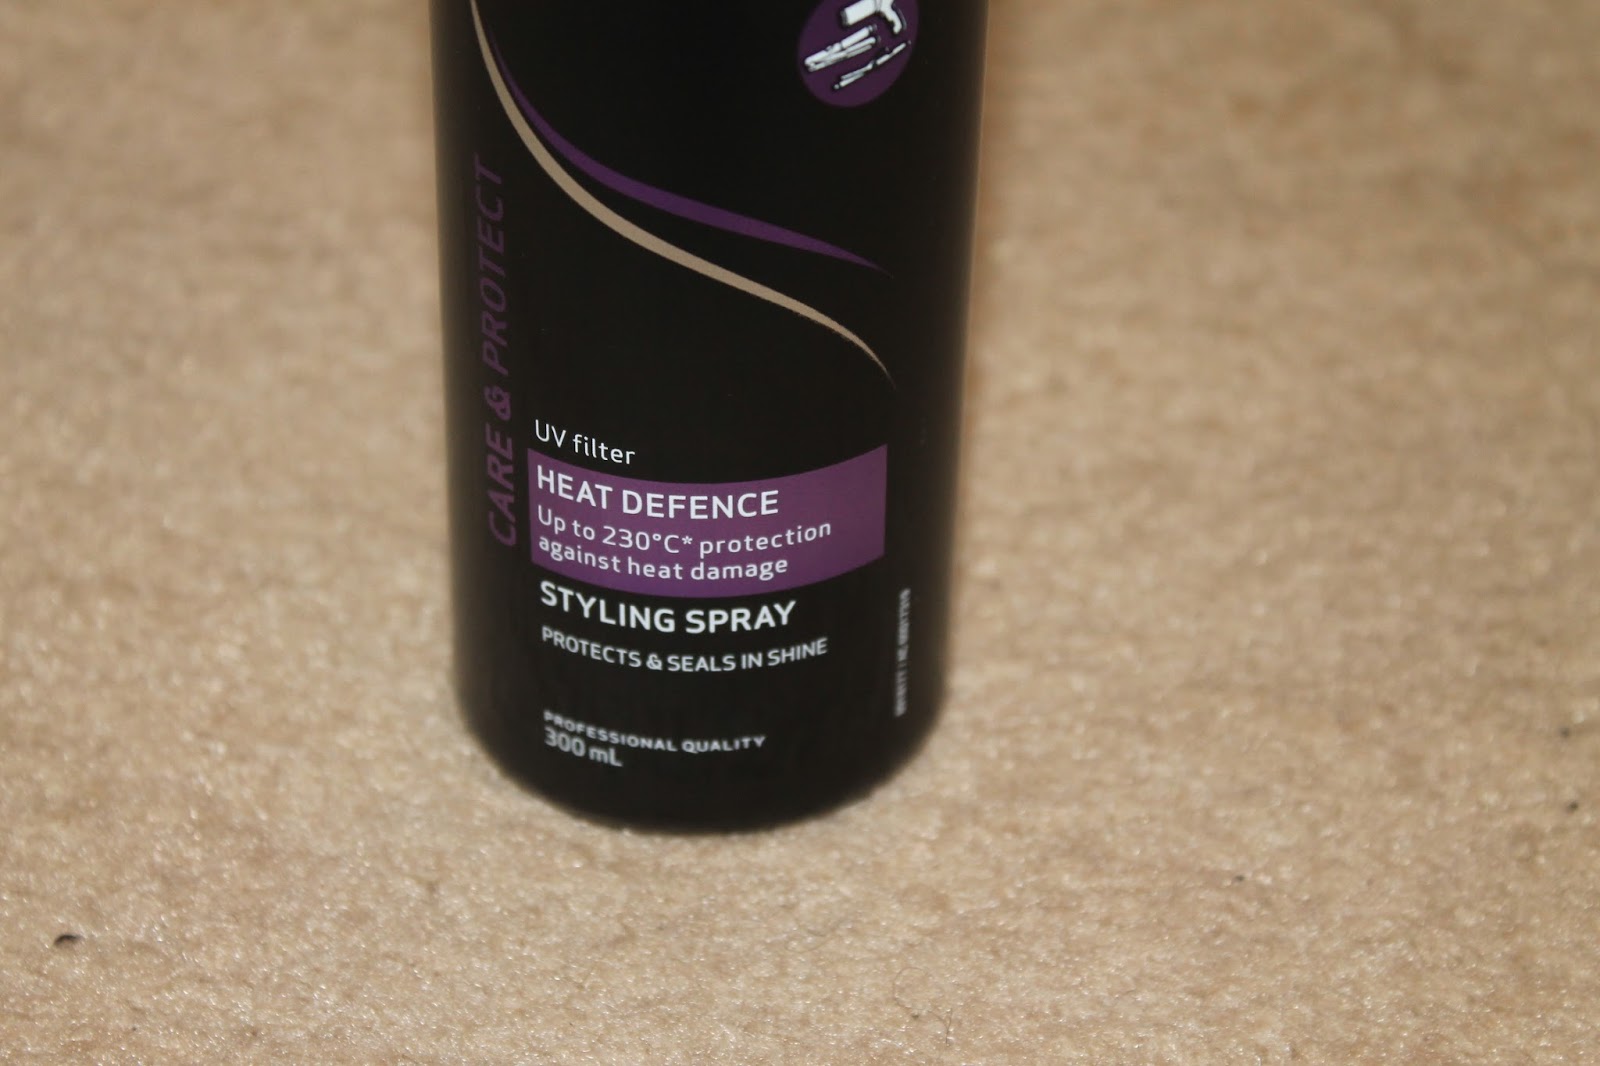
1. Invest in a good heat defence product and apply it from the root to tip of your hair before applying any heat. A good product is TRESemme's  heat defence styling spray. It protects your hair from heat to up to 230 degrees.

2. Use your blow dryer on medium to low heat. You don't need your hair to be crispy for confirmation that it is dry.

3. If you get a roller set, apply your heat defence as described and then protect your hair from direct heat with a perforated head scarf before going under the dryer.

Heat is the enemy people. Protect yourselves

xx

 
Styling tools
 Heat Defence spray
                                                                Heat defence spray
                                                      Blow dryer on medium heat
                                                              Blow dryer on low heat
 
                                                                       Head Scarf

Tuesday, 7 January 2014

Happy New Year

Happy New year Everyone! I hope you all enjoyed the holidays.

I am not really one for new year resolutions but there are a couple of things I would like to see happen this year with regards to beauty.

Hair

I am starting on a hair challenge. The challenge is to retain at least 5 inches of my hair growth this year. I plan on achieving this by treating my hair Like.A.Bambino. No slacking off, No cutting corners, So help me God!
As I go along, I will let you guys know any new tips and tricks I discover. 
I have taken pictures of my hair as it is currently and I will take pictures again in December to see if I hit my target.
To my sister/brother Thomas who doubt it is possible to retain 5 inches in one year, I can tell you for a fact that it is. On average, hair grows around 6 inches in one year. Yes some people are on the lower end of the spectrum and others are on the higher end of it but the aim is to retain as much as you possibly can.
If anyone out there is interested, please feel free to join me on this challenge. Give it a shot and see what happens.

Skin

I am hoping to be able to permanently clear up spots and hyper pigmentation (dark marks after spots aka pimples  are gone) on my face this year. Again I will be sharing whatever works particularly well for me. Like with my hair, I have taken photos of my face as it is now to compare with my face in December when the challenge is done. Again, anyone who wants to come on this journey with me is welcome to do so.

And that's it! Hair like Rapunzel and a face like a baby's bum. That is not asking too much is it?

The best of luck to anyone out there who wants to go on this journey too. Please let me know in the comments if you are. It reminds me people are reading and encourages me to put up more posts, particularly relating to topics you enjoy.

P.S Let me know if you are interested in seeing current hair/face photos.
xx

Friday, 13 December 2013

Oh So Beautiful Face of the Day


My friend Busola was going to a christmas dinner and she wanted a look that would turn heads *wink*. Busola has amazing skin so making her up was a breeze.

Eyes
Ambering lights - MAC
Raizin blush - MAC
Black - Sleek Eyeshadow Palette

Skin
Mary Kay Foundation
Sleek Contour kit
Mineralise Skin finish - MAC
Banana Powder - Ben Nye
Studio Finish Concealer - MAC
Exibit A blush - NARS

Lips
Ruby Woo - MAC


                                                                                Before
                                                                                 After


 xx


Thursday, 31 October 2013

Snip, Snipity Snip

The topic of Trimming hair is taboo to so many women! The idea of cutting off hair they have worked so hard to grow just does not go down well. My dear dear ladies, the truth is, if you do not trim your hair when it needs it, you will lose the hair through breakage. Every time you wash it, every time you comb it, every time you whip you hair, every time you dutty whine, every time you turn your head to check out a hottie, your hair will break. Give your hair a little trim ladies, you'll be happier for it....trust me, I am a hair doctor. (No not really LOL) 
Trimming is important to remove split ends or small knots that cannot be unravelled.

There are 3 main ways to trim hair depending on the length of your hair, the extent of damage in your hair and how much hair you are willing to take off.

The first method is the Search and Destroy method.

This method is for people who want to lose as little length as possible. Simply take very small sections of hair, seek out any damaged/split strands and carefully snip approximately a centimeter away from the end of the strand. You can do this as often as you need to.
The one small disadvantage to the method is that you might end up with slightly uneven hair but at least what you have left is all healthy hair and you save a lot of length.                                    (that is me actually searching and destroying)
Method number two is Dusting. This is for people who regularly get knots and split ends. The method is to cut off less than half a centimetre of hair regularly (about every 6 to 8 weeks). It ensures that the problem does not get enough time to travel further down the hair shaft. However, if you are forced to dust more regularly, you are probably doing something wrong with your hair care regimen. Change things up. Do some research to solve the problem.
                                                          (that is me pretending to dust)
The final method is the regular trim. This is great to remove old unhealthy ends and is a good base level to start off managing you hair better. After a regular trim, you can then move on to the dusting or search and destroy methods. A regular trim takes off as much hair length as is necessary to fix the problem. Taking hair in small sections, cut off about an inch or more at a time until all the unhealthy parts of the hair have been removed.
NOONE should have to do this regularly.
 
(That is me pretending to do a regular trim and praying to Jesus I do not cut off my hair by accident)
 
Something  to note, Always use sharp scissors.
 
This next tip is for your general hair care.
If you go to salons regularly, do not be afraid to tell your hair dresser what to do! I have sat in fear, saying prayers to God on one hand and convincing myself on the other that my hairdresser knows what she is doing as I had my hair butchered or endured bad relaxers, or somebody combing through my whole hair with a fine tooth comb, or slathering pomade in my hair, or walking out of a salon with stark dry hair, and all manner of abuse. 
If you think your hairdresser is doing something wrong, Speak up! half the time they have no idea what they are doing. It is your hair. 

 
xx


Cleanliness is Right Next to Godliness: Part 2

As a makeup artist, dirty brushes are the bane of my existence. I have had many fantasies of midnight elves who scurry in and take care of my dirty brush problem while I sleep soundly but alas, this has yet to happen. I remain hopeful though.
In the meantime, here is the method I use and it works really well.


First you need dirty brushes

\
Then you need some good old washing up liquid


and some extra virgin olive oil


Pour one part olive oil and two parts washing up liquid in a bowl


Swish your brush around in the mixture until the bristles are completely covered


And the mixture starts to get a little foamy, then swish the brush around on your palm for good measure.


Rinse the brush off with some warm water 


Voila! Clean brushes


Let the wet brushes lay out to dry on some clean paper towels overnight.

Repeat the process if the brushes are not entirely clean.


Some things to note

Try not to get water past the neck of your brushes as water looses the glue that holds the bristles together and if that happens, your brushes will start to shed.

I have had absolutely no problems with breakouts using this method so be confident that it is safe.

The brushes shown are by a company called Real Techniques. I got mine from Boots
xx


Friday, 4 October 2013

Cleanliness is Right Next to Godliness

I had a little look in a friend's makeup bag recently and I was truly horrified by what I found.
The outside was not bad at all. In fact it was a rather nice bag, sleek with gold hardware. Then I open the zipper and looked inside... Dear God I looked inside.
First, the entire interior had gone from black to a sort of moist brown. Each product was covered in well.... other products and to top it off, you could just tell that she had had some of those products for more than a few years.

If this is starting to sound like you then consider this your little slap on the wrist.
It is important to keep your makeup clean and germ free to avoid transferring germs to your face.
A little wipe down with the trusty rubbing alcohol and a kitchen towel is a really good way to keep makeup germ free.
With powders, spray a little bit of the alcohol on the surface of the products and keep them open until completely dry.

Finally for arguably the most ignored part of makeup care, ladies ....and gentlemen who wear makeup, here is a little chart I created to save you from breakouts and quite frankly, blindness. It tells you how long on average to keep different types of products.
Print it out, Pin it up and Follow it!

You can thank me later.
xx